Hello again, and welcome back to part three of the Japanese-inspired bantamarium experience. If this is the first of the four-part Shinto Series that you are seeing, don’t worry, I will catch you up without boring everyone else. Today’s project will be a traditional Japanese village paludarium.
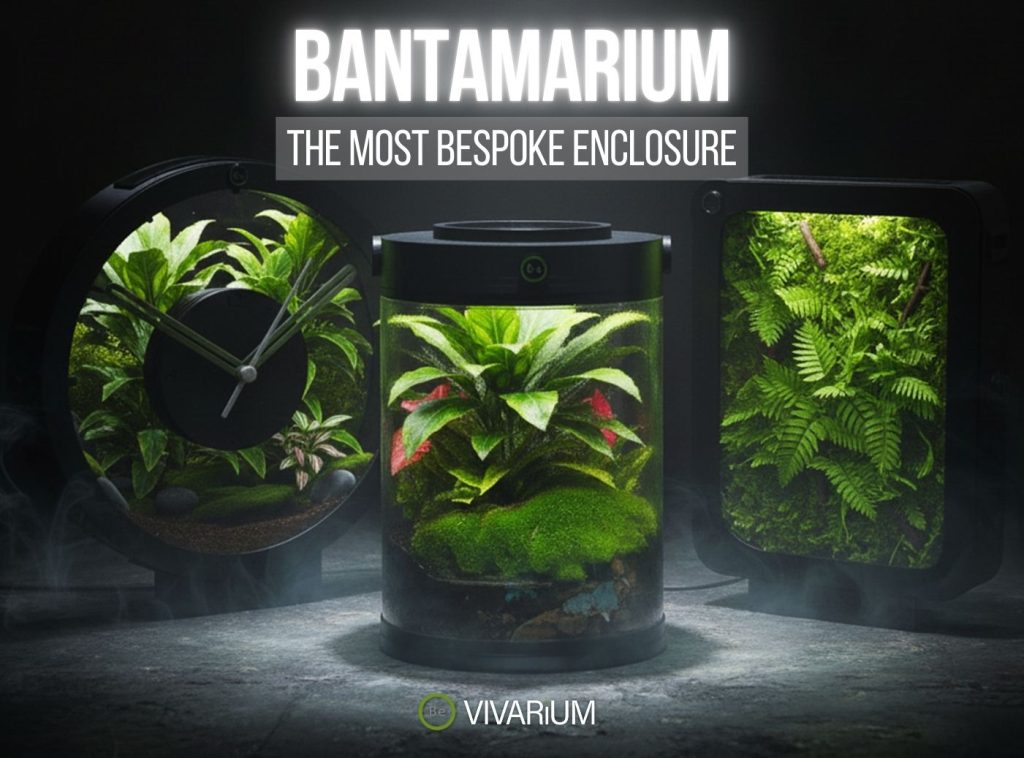
If you’re new to the concept of a Bantamarium, I highly recommend checking out the detailed guide I’ve created. In essence, a Bantamarium is a versatile vivarium designed to bring miniature ecosystems to life. It’s a concept I’ve developed to make it easier for anyone—regardless of experience level—to create a thriving, visually stunning vivarium that blends art with nature.
Japanese Architecture In a Terrarium
In our first tank, we introduced the meaning behind my motivation to make this series with a Shinzo sculpture jungle terrarium. We lit things up with the second living diorama while elaborating on the structure behind Shintoism with a tōrō lantern and, rock garden terrarium. This enclosure will aim to take things up a few notches by scaping out an entire village in a paludarium.
Making a Japanese village Paludarium
Shinto beliefs, as well as Buddhism, had a big influence on Japan’s early architecture. I thought it would be very fitting to build a semi-aquatic environment that showcased the strong emphasis on humans’ relationship with nature. Let me show you how I made a Japanese village paludarium:
Materials:
- Bantamarium Jar 8″ x 6″
- Traditional Japanese Architecture Decor
- Pleurocarpous Moss (Barbula Sp.)
- Phoenix Moss (Fissidens Fontanus)
- Common Haircap Moss (Polytrichum Commune)
- Delicate Fern Moss (Thuidium Delicatulum)
- Natural Sand
- Black Gravel
- Black Lava Rocks
Tools:
Traditional Japanese Architecture Decor:
At the time this tutorial was written, I offered these models unpainted and unassembled. We are proud to announce that our terrarium decor has been improved since then and is now available complete with color. If you so choose to add personalized details, these models are still paintable. Just remember to properly seal them with an aquarium-safe sealant and allow it to cure before use.


The Japanese Village Paludarium Construction:
Now that you’ve made your Japanese architecture your own, let’s make a suitable environment to place those models in. For this enclosure, I’m going to use the larger six-inch vase compared to the smaller vases I used in the first two projects.


Start by pouring aquarium gravel into the vase. You should be aiming for a layer at least an inch deep. I will plan to grow a carpeting plant along the bottom, so a good substrate will be vital for a healthy root system later.


The idea will be to balance a C-shaped landmass over the water section for our village to prosper on, so adding rocks around the edge of the inner rim will provide elevated support later.


Next, I planted some Monte Carlo around those rocks and poured a little bit of sand around the front/midsection to further enhance the island look.


With the bottom portion of the tank setup, let’s take a moment to build a platform for the upper terrain portion of this paludarium. I started by gluing a series of Lava rocks together. Using another empty vase for reference, I formed what looked like a quarter moon.


Once assembled, I slowly dropped it into the tank, making any needed adjustments to get a perfectly leveled surface. Any gaps found between rocks are easily covered with rocks without being glued in.


I pour small bits of black gravel over my platform to fill in any more gaps and start to create various hills for my buildings to sit on. This is followed by a tiny sand path between the larger buildings to give a sense of community and further enhance scale.


With buildings in place, we can proceed to plants and complete the upper portion of our paludarium.
Japanese village Paludarium Plants
Since the underwater area has Monte Carlo placed, the foliage we will focus on will be the terrestrial area. For this, I simply used fern moss to cover the background areas between the buildings.


Barbula Moss is peppered throughout the rest of the terrain. This moss is a really good carpeting moss I use often, so I enjoy watching this stuff take on and spread as it acclimates to a new environment.


Traditional Japanese Paludarium Animals
My usual cleanup crew (springtails) went in after I completed the build. These guys do a great job keeping the mold at bay. I doubt I will add anything to the water column of this paludarium since there is no water circulation.
Mini Paludarium Care
As with most of my miniature terrariums, this tank should do well on its own. As things grow in, the natural takeover will only further enhance the scenery. The water will need to be changed in this tank for the first couple of weeks.


Final Thoughts
This was a slightly more detailed and bigger project than the first two. With that being said, you have a miniature Japanese village paludarium that looks like something from the early 17th century! Pretty neat if you ask me… Well, if you were a fan of this setup, you are going to really be in for a treat on the next one because we are going to take this idea to the next level!
If you’re interested in seeing updates on how this as well as other enclosures progress follow me on social media. If you’d like to get your tall tweezers on one of these limited edition vivarium decors yourself, check them out in our shop.


