Hey guys, continuing with the three-part mini-series I’ve been working on for the different types of mossariums. This is part two of the challenge I was given by one of you guys. In this tutorial, I will be showing you how to make a low-tech mini aquascape using just moss.
If you’re new to the concept of a Bantamarium, I highly recommend checking out the detailed guide I’ve created. In essence, a Bantamarium is a versatile vivarium designed to bring miniature ecosystems to life. It’s a concept I’ve developed to make it easier for anyone—regardless of experience level—to create a thriving, visually stunning vivarium that blends art with nature.


Just to fill everyone else in, the terms were to make three different moss ecosystems using materials in or around my house. One ecosystem would be fully aquatic (moss aquarium)… Another would be non-aquatic (moss terrarium)… The final would be semi-aquatic or an aquarium (moss paludarium)… With time being limited, It’s still really hard for me to turn down challenges. Especially when I can find an opportunity to give value from it (Like in the form of these tutorials.) So, here it is and I hope you guys like it.


Mini Aquascaping
Aquascaping is a craft where a hobbyist designs a fish tank to replicate a natural environment. Using plants, wood, rocks, and some type of substrate… The goal is to instill a miniature version of a real-world habitat. A mini aquascape takes things further by establishing the same balance on an even smaller scale.


Making A Mini Aquascape
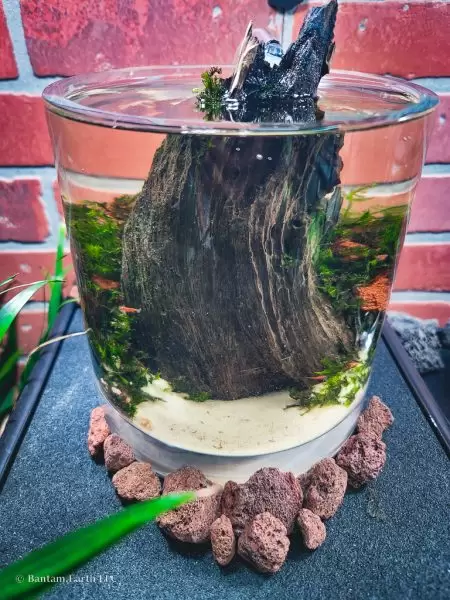
To be honest, I tried out a few different materials before settling on the result of this mini aquascape. the total time spent on this project was probably 10 hours in total. Like typical aquascaping fashion, I stretched this project out over a week. Using real environments as a source of inspiration, I wanted something similar to the scene below.


With the mini aquascape being fully aquatic, I wanted to work with a single type of substrate for easy maintenance. Using a combination of two types of moss, I was able to instill a look very close to a natural habitat full of ferns and red mountain treetops. The hardscape is made up of one piece of driftwood and a few red lava rocks.
Materials:
Tools:
Mini Hardscaping:
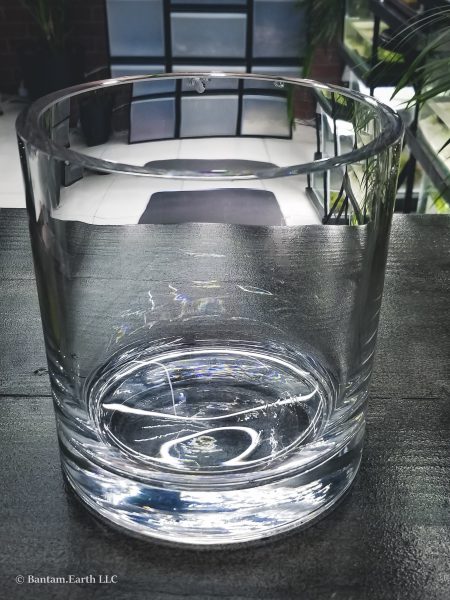
The first thing I like to do is clean and inspect the vase. Giving it a thorough wipe with bleach and then vinegar is good practice. The bleach will remove any bacteria or production chemicals that might affect the ecosystem later. The vinegar removes the bleach and any stains that might be on the glass if the vase was used previously. Furthermore, I inspect the glass for any imperfections like scratches or chips. If you don’t feel like removing them make sure to mark that area and use it as the backside of the enclosure.


Before applying the substrate, I wanted to test the driftwood to make sure it fit the way I wanted it within this mini aquascape tank. I like the way it already has an immersed look from the vase. It adds a level of dimension to the aquascape I can further play on later with the plants.


Next, I remove the driftwood to apply the play sand in a sloped fashion. This is a small enclosure so going this steep will add depth to the landscape.


Once the sand is in place, I replace the driftwood and start to assemble the lava rocks. While applying the hardscape, I realized the sand is a very loose material that will more than likely shift forward as I add water. I anticipate the overflow of sand towards the foreground area. I stack the rocks in a way to hold as much of the sand back as I can.


Once I settle on the hardscape design, I start adding water slowly. As I notice sand pouring out between larger rocks, I plug those gaps with smaller stones. Any extra sand in the foreground area can later be scooped out and reapplied to the background.


The final design should be settled with no noticeable sand pouring anywhere. I readjusted the hardscape several times before settling on a look I felt good about moving on with… Don’t be afraid to do this section over if things don’t look the way you want them to.
Mini Aquascape Plants
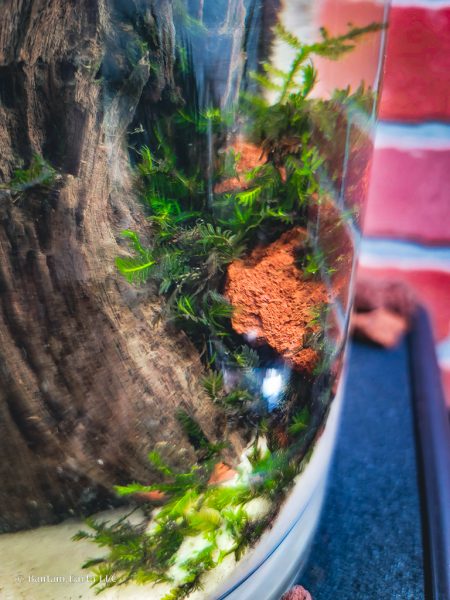
Now that the hardscape is in place, we can start to add the flora. I went with Christmas moss and Phoenix moss for this setup. Phoenix moss covers the foreground and midground area resembling ferns and palm trees. The Christmas moss is used as a background plant creating scale as we scape up the mountain.


This is an aquascape that will require time and patience to get the result I’m looking for. The aquatic plants will need time to acclimate and fill in. Christmas moss grows much faster than phoenix moss, so I expect to see the upper area fill in rather quickly.


I will do an update on how this tank is coming along once things grow a bit more.
Mini Aquascape Animals
As I mentioned in the moss paludarium guide, these tanks are rather small for any animals to thrive the way they should. For the time being, I’ve added a few baby cherry shrimp to this mini aquascape as well. They will aid in keeping the algae down while the plants establish.
Mini Aquascape Care
Weekly water changes will be the common practice with this mini aquascape as well. I did end up installing a DIY mini sponge filter to help keep the water clear. I found it also did a great job creating surface aggregation as well as oxygenating the tank.


Final Thoughts
So far with the water settled and the plants establishing themselves, this is where we leave off with things. I will do an update on this mini aquascape in a few weeks to see how things have grown. Now I pass the challenge on to you. Can you design something that rivals my miniature red mountain oasis using scrap material? Tag me on social media to show off your mini moss aquarium and be sure to check out the other mossariums in this 3 part “mini” series!


