fbpx

Make A Cozy Autumn Terrarium

Welcome back everyone, I hope you got your comfy sweater on and a good cup of something warm and sweet because we are going to set a Bantamarium mood today. Autumn is amongst us and with all the vibrant colors outside my cozy Jacksonville home, I felt compelled to figure out a way to bring it inside. So let’s make the most photo-realistic DIY autumn terrarium anyone has ever seen!

If you aren’t familiar with what a bantamarium is, I strongly recommend you take a look at this deep dive I put together. In a nutshell, it’s a concept I’ve been working on where we bring a diorama to life. The goal is ultimately to make photo-realistic vivariums anyone, no matter the skill level, can make!

Bantamarium: Everything You Need To Know

An Autumn Themed terrarium

Making a real autumn terrarium proved to be a challenge at first. Finding micro foilage that fits this theme put me through the ultimate test to see how well diverse my plant knowledge has become.

Nonetheless, it wasn’t impossible and some aspects were improvised to meet the criteria I set out for myself. I hope you all enjoy this week’s video.

How To Make An Autumn Terrarium

Once I figured out exactly what I wanted to use to build this terrarium, putting it together was relatively simple. The part that took the longest was waiting for supplies to arrive. At the time of making this post, transit is delayed with almost everything... even amazon. So keep that in mind when placing an order for any of the supplies below.

This project is now available as a complete kit! Check out available sizes:

Autumn Terrarium Kit
Total Time Needed: 1 hour, 30 minutes

Materials:

-Bantamarium Jar 8″ x 6″
-Cozy Cabin Set
-Carpeting Moss (Optional)
-Brown Gravel
-Brown Sand
-Coco Coir Soil
-Reindeer Moss (Red, White, Mango)
-Birch Twigs (Optional)
-Aquascaping Tool Kit

Steps to building the autumn terrarium:

Step 1: Pick Out The Cozy Cabin Terrarium Decor
At the time this tutorial was written, I offered these models unpainted and unassembled. we are proud to announce that our terrarium decor has been improved since then and is now available completed with color. If you so choose to add personalized details, these models are still paintable. Just remember to properly seal them with an aquarium-safe sealant and allow it to cure before use.
Step 2: Setup The Drainage Layer
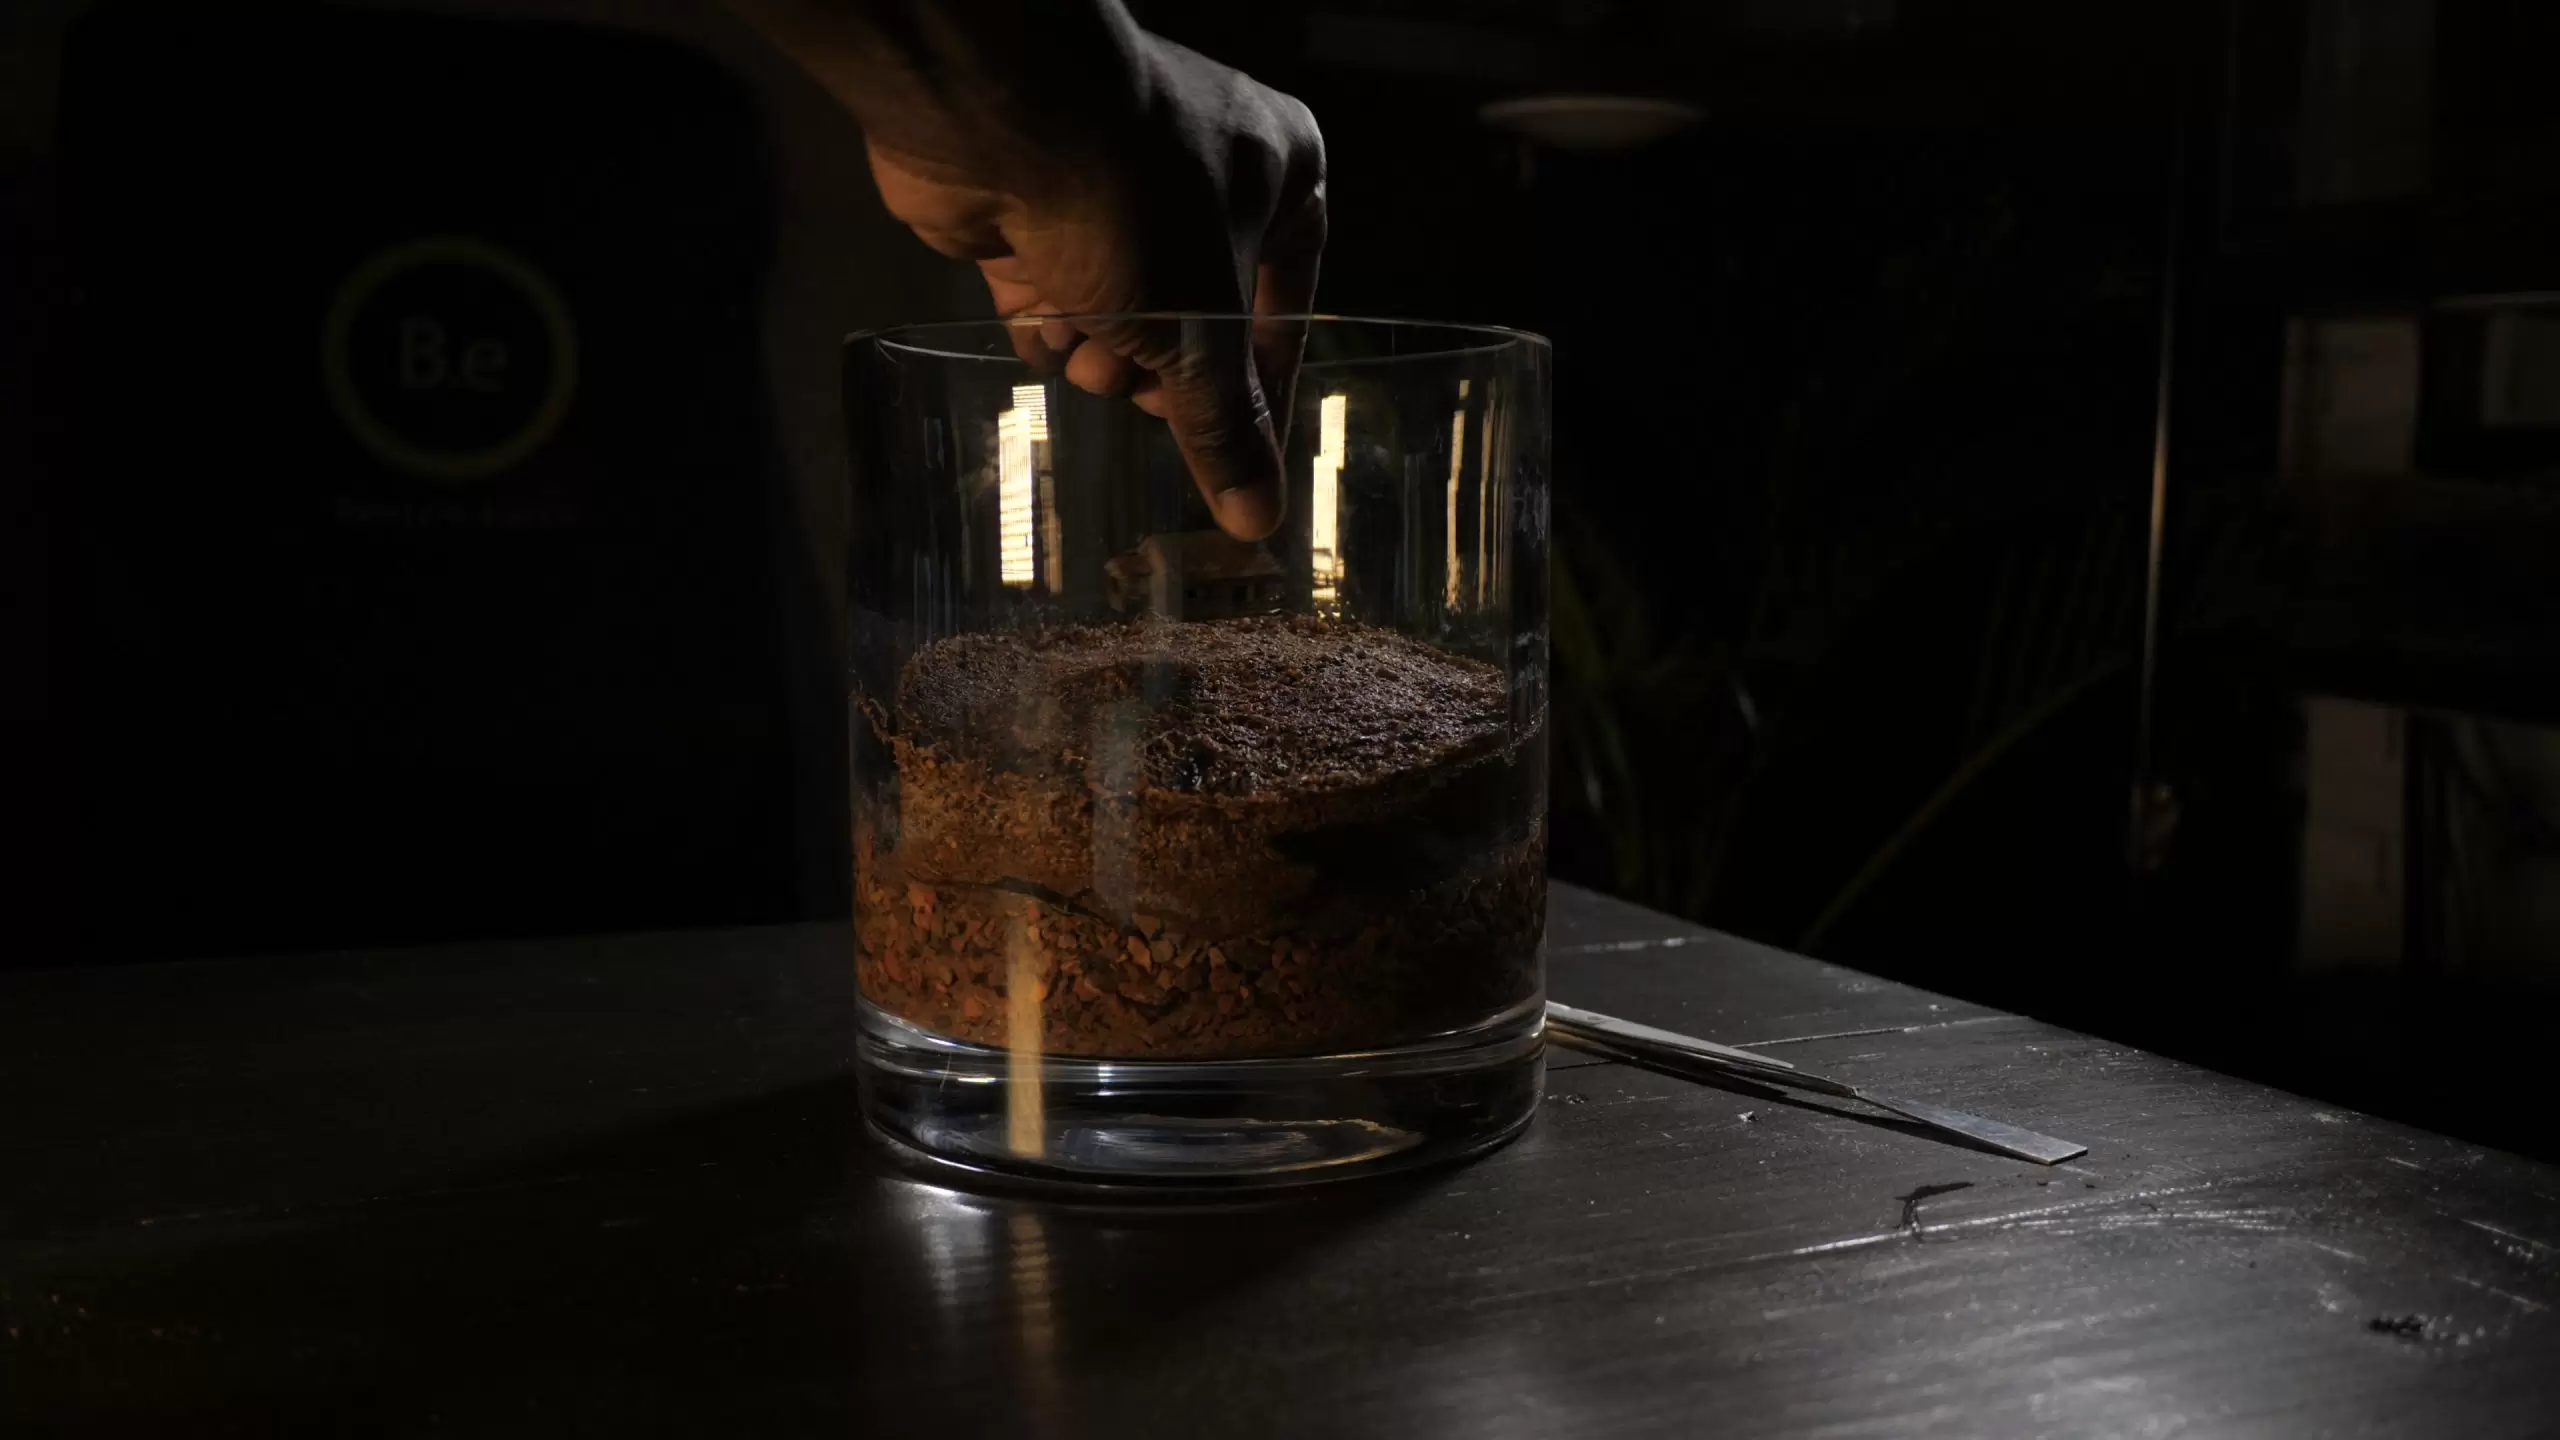
Start by pouring gravel into the vase. You should be aiming for a layer of about 2 and a half inches deep. This is where all of our excess water will go after each watering or mist. I'm using brown gravel to keep the autumn theme going in my enclosure.
Making a drainage layer for the autumn terrarium
Step 3: Separate The Drainage Layer From The Substrate
I recommend using some type of screen mesh to separate this layer from the substrate layer. This helps keep the soil out of the stagnant water. I'm using a small piece of garden liner for this.
Dividing the drainage layer with a screen mesh
Step 4: Add Soil To Make Up The Substrate Layer
Next, we can add in our soil. I typically like to slope most of my setups to give depth to the scape. For this bantamarium, I won't need to make the substrate staggered. For one, the model will need to sit on a leveled area somewhere around the middle. Another thing to consider is the height and depth the trees will create in the background.
Adding coconut coir soil to the substrate layer
Step 5: Test Fit The Cabin Decor
Before proceeding to set up the trees, I test the fit of the cabin to make sure it can sit level. The soil is a little uneven and to further enhance the scene, I add small bits of black aquarium gravel to the area the cabin is going.
Test Fitting The Cabin Terrarium Decor
Step 6: Added Sticks For A Wooded Scene (Optional)
Once I'm satisfied with the first two layers, it's time to add a wooded area. I'll start by adding small broken pieces of twigs.
Adding Sticks To Create A Woodland Terrarium Look
Step 7: Start Adding The Reindeer Moss
With the sticks in place, we can start adding the plants. I have a couple of different plant options in mind for this autumn terrarium, carpeting moss, and reindeer moss. Reindeer Moss is a type of lichen that doesn't root or grow really fast. I'm using a mix of living as well as preserved lichen because I can get the preserved lichen in a number of colors.
Arranging The Reindeer Moss In The Terrarium
Step 8: Arrange The Moss To Your Satisfaction
Now we can begin to set our scene with little pieces of the living lichen towards the midground and front area. Follow that with the colorful lichen, carefully placing it on the sticks. I want the majority of the reindeer moss to be orange as it helps captivate the fall look.
Arranging Moss In The Autumn Themed Terrarium
Step 9: Create A Small Path With Sand
It took a bit of time to rearrange the colorful lichen until I got the aesthetic I was looking for. To finish the terrascape off, I lined the front with a small amount of fine sand forming a path right up to the cabin.
Creating A Small Pathway With Sand
Step 10: Enjoy Your Hard Work!
If all looks up to par, you should have an Autumn terrarium ready for display!
Side View Of An Autumn Themed Terrarium

Autumn Terrarium Animals

Several micro critters could do well in this type of terrarium. I’m a huge fan of animals that help maintain the terrarium.

Springtails, isopods, or even a small colony of ants would fit this enclosure nicely.

Autumn Terrarium Care

As with most of my miniature terrariums, this tank should do well on its own. As things grow, the natural takeover will only further enhance the scenery.

If you haven’t already, mist down the scape and seal it with a little plastic wrap. Open it every once in a while so that the lichen can get fresh air.

Lichen receives its nutrients from the air so it’s vital it gets a nice breather from time to time.

Final Thoughts

We have completed another head-turning bantamarium. This autumn-themed terrarium is a rare type of terrain I predict will inspire many more to come.

I hope you all enjoyed this one. I think this will make a really nice gift for someone special and hopefully, this tutorial did a pretty good job explaining how to make it.

If you’re interested in seeing updates on how this as well as other enclosures progress follow me on social media. If you’d like to get your tall tweezers on one of these limited edition vivarium decors yourself, check them out in our shop.

More In Make:

Making A Bonsai Treehouse Village Terrarium
Making Prehistoric Desert | A Dinosaur Terrarium
Making Jurassic Jungle | A Dinosaur Terrarium

Need More Help?

Didn't find the answers you were hoping for? Check out our troubleshooting archive for more helpful information.