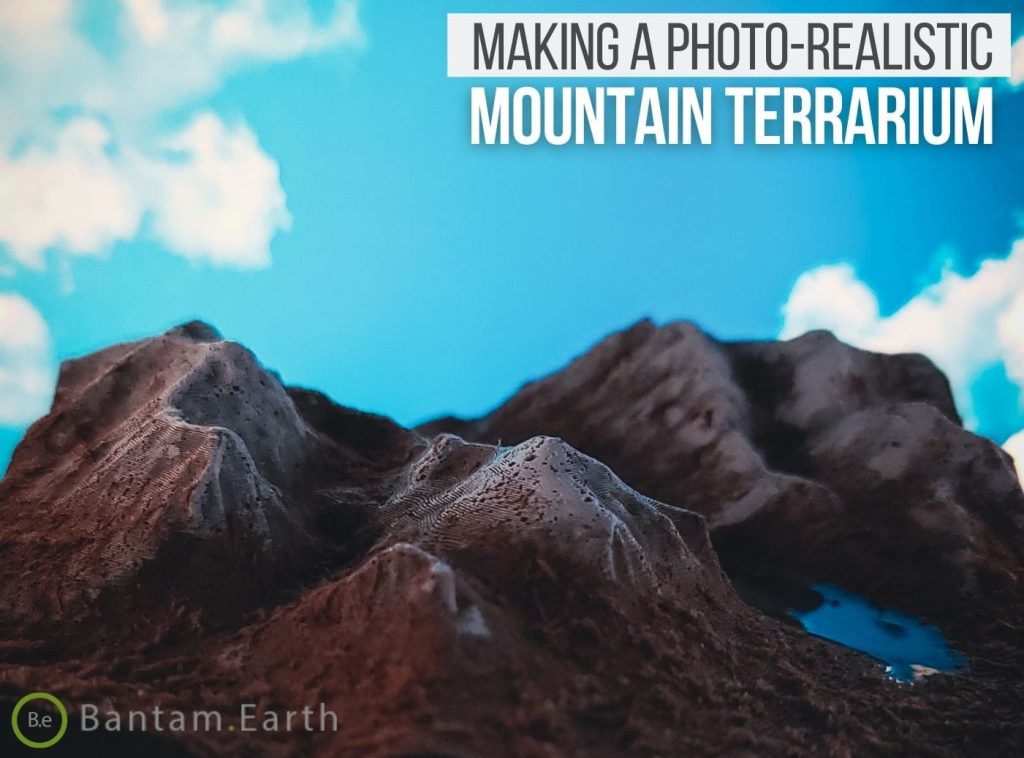
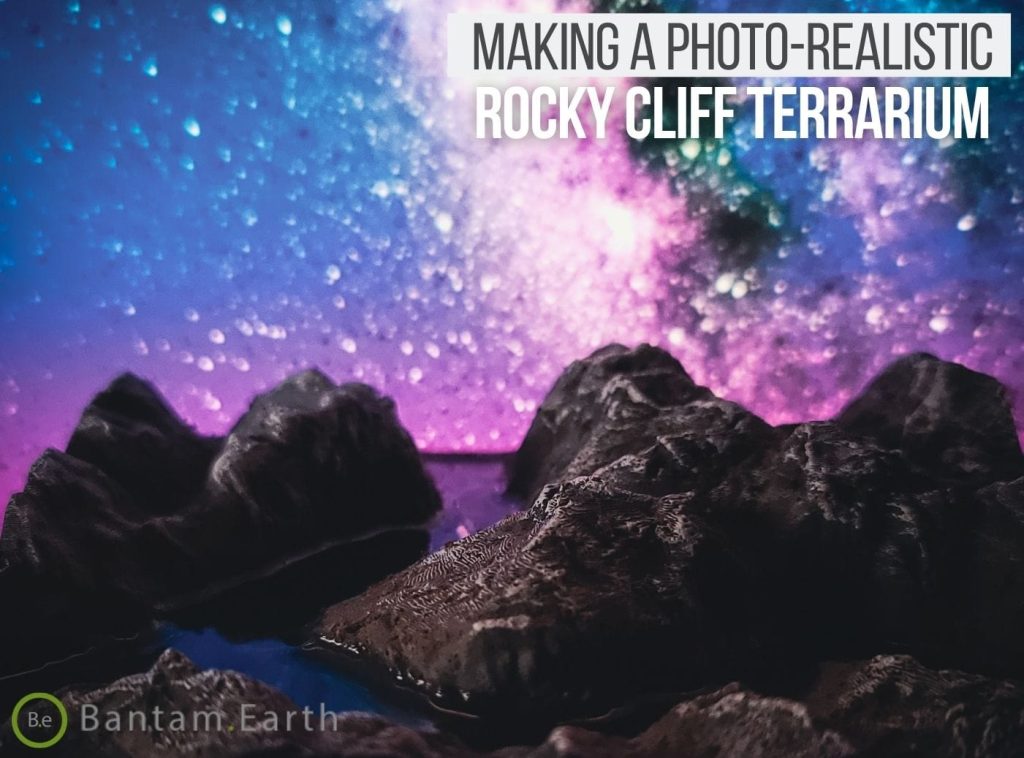
Here we are, the fourth and final terrain in our series of bantamaria (for now at least). Today’s creation will be the mini wetlands terrarium. This is the most ambitious terrain and honestly the one I looked forward to making. If you’ve been following along with our previous living dioramas (desert, rocky cliff, & mountain terrariums) then you should be very comfortable going into this build.
If you aren’t familiar with what a bantamarium is, I strongly recommend you take a look at this deep dive I put together. In a nutshell, it’s a concept I’ve been working on where we bring a diorama to life. The goal is ultimately to make photo-realistic vivariums anyone, no matter the skill level, can make!
Fragments Of Phang Nga
The inspiration behind my “Fragments Of Phang Nga” terrain is an odd one to explain. I remember seeing this place on an old 007 movie years ago. The symmetry of this landscape’s natural geometry has always been mesmerizing to me. Trying to scale this extraordinary topography down to a miniature terrain left me having to make a choice between fragments of vast perfection.


Making The Mini Wetlands Terrarium
I call this terrarium one of the more ambitious creations not because of the level of difficulty. It’s actually just above the desert terrarium in terms of expectation. It’s the end result I’m preparing you for. This terrain is going to go through a series of changes during its acclimation. The end result will take some time but TOTALLY worth the wait. Only the true bantamscapers will come out on top in the quest for a genuine Phang Nga replica!


Materials:
- Bantamarium Case Kit (or any 6in x 6in square enclosure)
- Barbula Moss (or any pleurocarpous moss)
- Buttermilk
- RO Water (or rain water)
- ‘Fragments Of Phang ‘ Terrain
- Resin & Dye
- Packing Tape
Tools:
- Aquascaping Tool Kit
- Mixing Cups
- Paint Brushes
- Sharp Blade & Cutting Board
Mini Wetlands Terrarium Construction:
Taking a closer look at the terrain I’m working with today, we will notice a few things worth keeping in mind as we go. It measures just under six inches for the width and length. This will make it suitable for a 6×6 enclosure. The base thickness is about 1/2 an inch so we want to make sure it has at least that amount in tank depth for holding excess water.
Our Bantamarium case crown and divider tray will work perfectly for this. A three-inch tall glass case will cover the crown once this living diorama is assembled making this bantamarium a closed terrarium.


It is totally possible to build your own enclosure for this terrain if you’d like to make things even more personal.
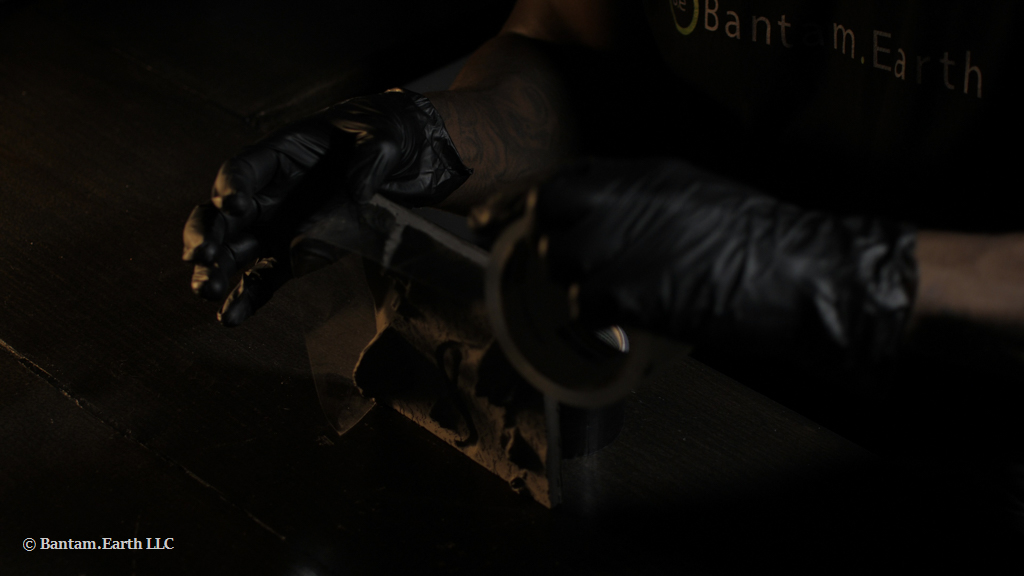
Once the terrain and enclosure are assembled, we can move on to modifying the terrain. Use the packaging tape to seal off the sides of the terrain before pouring the resin. This is a quick and simple way to keep the resin specifically where we want it and create a smooth casting on the sides.


Once the tape is securely wrapped around the terrain, we can move on to the resin pouring phase. Mix equal parts resin in a mixing cup along with a few drops of dye. The color and amount of dye are totally up to your preference. You should only need a few ounces of resin to achieve the false water feature we are aiming for.


With the terrain resting flush on a flat surface, pour the resin slowly from one end of the lowest depth and gradually work your way across the terrain. Stop pouring once the resin reaches the desired height. It will need a genuine 24 hours before you can remove the tape and proceed to the next steps.


The next day, with the resin, cured we can remove the tape and proceed to add foliage.
Mini Wetlands Terrarium Plants
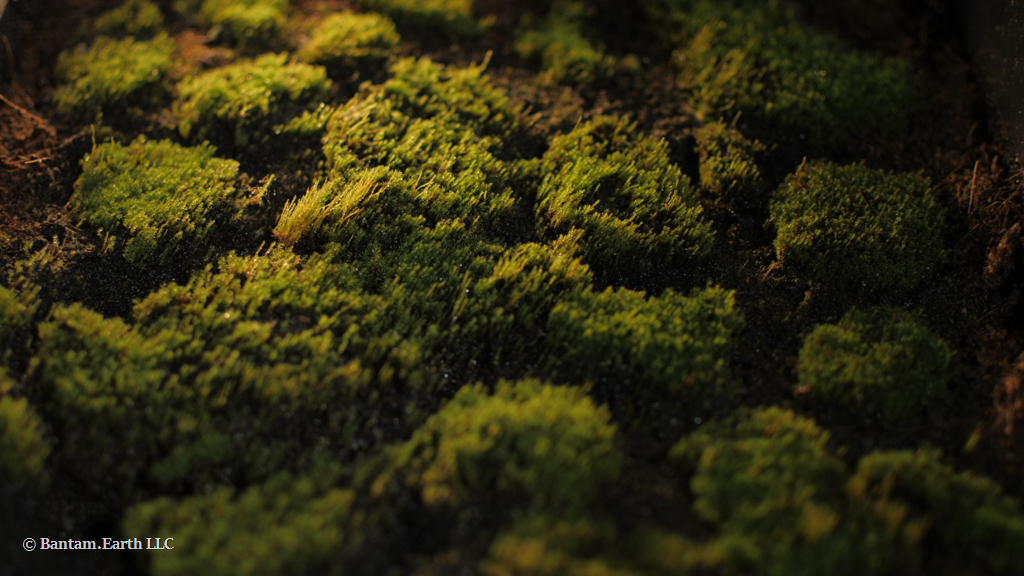
I will be using small amounts of barbula moss I’ve been collecting and growing for a while now. You can use any shallow growing, carpeting moss to achieve the look we are going for. I’m going to show you two methods for applying moss and cover the pros & cons of each.


The first method will be traditional to the way moss is usually applied to the concrete. Mashup the moss and mix it with water and buttermilk. Blend until you get a greenish/white paste with the consistency of thick paint. Use a paintbrush to apply the paste on the lower unpainted areas of the terrain.


This method will take longer to see results as most moss will not survive the beating required to get an even paste. However, with patience, once the moss does start to acclimate, it will grow more uniform and dense giving an absolute phenomenal look in the long run.
The second method is simple but will require a steady hand during application. Dice the moss up into tiny bits. Sprinkle the chopped moss across the unpainted areas of the terrain. Misting the terrain prior to applying moss will help keep the moss in desired areas.
This method yields much faster results than the first because the plants aren’t being totally destroyed. They will also become established noticeably faster and should continue growing within a week. The downside to this way of applying moss is the patchy look in the initial growth phase as well as the difficulty with keeping moss in one place when misting.
Mini terrarium Animals
I wouldn’t recommend many livestock in a bantamarium this small. I prefer the low maintenance and easy upkeep in something like this. That’s not to say you couldn’t make this living diorama habitable though.
If I did stock some type of animal, I’d go with a microfauna. A few isopods or springtails would not only add movement to the terrarium, but they would also do well keeping it clean and mold-free.
Mini Wetlands Terrarium Care
This mini wetlands terrarium will only need watering every once in a while and that’s it. This low-maintenance setup shouldn’t grow fast and doesn’t produce waste. Depending on the type of enclosure you set the terrain in, the frequency between watering is going to be slightly different.
For example, the Bantamarium case I’m using doesn’t require misting as long as I keep the glass on. Once I fill the bottom tray with water, the evaporation cycle circulates within the case for weeks. The terrain will absorb stagnant water as well helping with the humidity regulation.


If you are using a self-built enclosure and it’s a closed terrarium, make sure any stagnant water is low enough to not reach the moss. Open top containers will need misting as moss becomes noticeably dry.
Lastly, remove lids daily on closed terrariums for a few minutes to provide proper air circulation and avoid mold.
Final Thoughts
Wow, we made it to the end game… Our mini wetlands terrarium is complete and if you’ve been following along in the Bantamarium series, we now have four completed terrains. Now we wait and nurture as needed. I’m excited to see how this progresses and can’t wait to see you guys in the next one.
If you’re interested in seeing updates on how this as well as other enclosures progress follow me on social media. If you’d like to get your tall tweezers on one of these limited edition terrains yourself, check them out in our shop.


